
How to Use Wood Filler Sticks for Perfect Architectural Film Applications | Fix Cracks & Nicks
How to Use Wood Filler Sticks for Perfect Architectural Film Applications | Fix Cracks & Nicks Easily
When working with architectural films, ensuring a smooth and flawless base is essential for achieving a professional finish. Small cracks, nicks, and other minor surface imperfections can ruin the look of your project. In this guide, we'll show you how to effectively use wood filler sticks to repair these imperfections after applying architectural film. Whether you're a DIY enthusiast or a professional installer, these steps will help you achieve a seamless and durable result.
What You'll Learn:
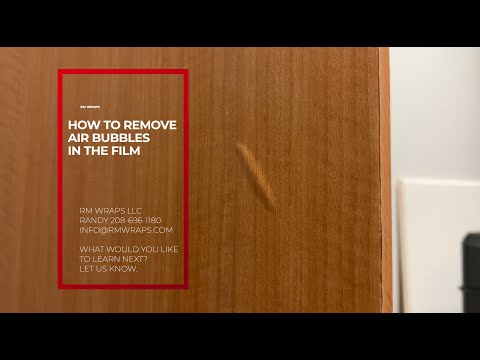
Identifying Damages: The first step in any repair process is to identify and assess the minor surface imperfections that need filling. Look for small cracks, nicks, and other damages that could affect the smoothness of the architectural film application.
Choosing the Right Wood Filler Sticks: Not all wood fillers are created equal. Choosing the right type of wood filler stick is crucial for different materials and damages. Ensure you select a filler that is compatible with the surface you are working on and provides a durable, sandable finish.
Application Techniques:
Preparation: Clean the damaged area thoroughly to remove any dust, dirt, or loose particles. This will ensure better adhesion of the wood filler.
Applying the Filler: Use the wood filler stick to fill the cracks and nicks. Apply it evenly and press firmly to ensure it fills the entire damaged area. Use a putty knife to smooth the surface and remove any excess filler.
Final Checks: After applying the architectural film, inspect the surface to ensure there are no visible defects. A smooth, even surface will result in a professional and flawless finish.
Tools You'll Need:
Wood filler sticks - https://amzn.to/3zQNpKi
Our Squeegee or Putty knife - https://www.rmwraps.com/rm-wraps-tools
Lint free towel
Step-by-Step Guide to Using Wood Filler Sticks:
Identify and assess the damaged areas.
Choose the appropriate wood filler stick for your project.
Clean the surface thoroughly.
Apply the wood filler evenly and smoothly.
Allow the filler to cure completely.
Sand the filled areas until smooth and level.
Perform final checks to ensure a flawless surface.
By following these simple steps, you can achieve a professional and durable finish on any project involving architectural film. A smooth and flawless base is crucial for ensuring the best possible results.
Architectural Film Store: https://www.rmwrapsstore.com/