

Transform Your Space: How to Wrap a Drywall Ceiling with Wood Grain Pattern Architectural Film Vinyl

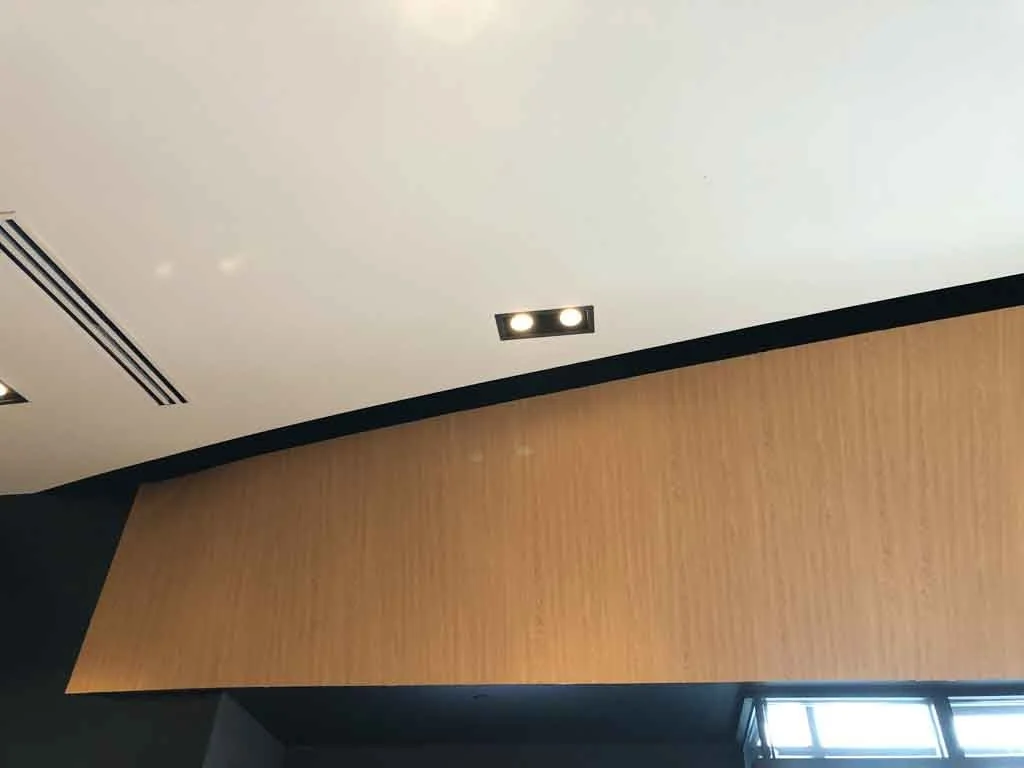
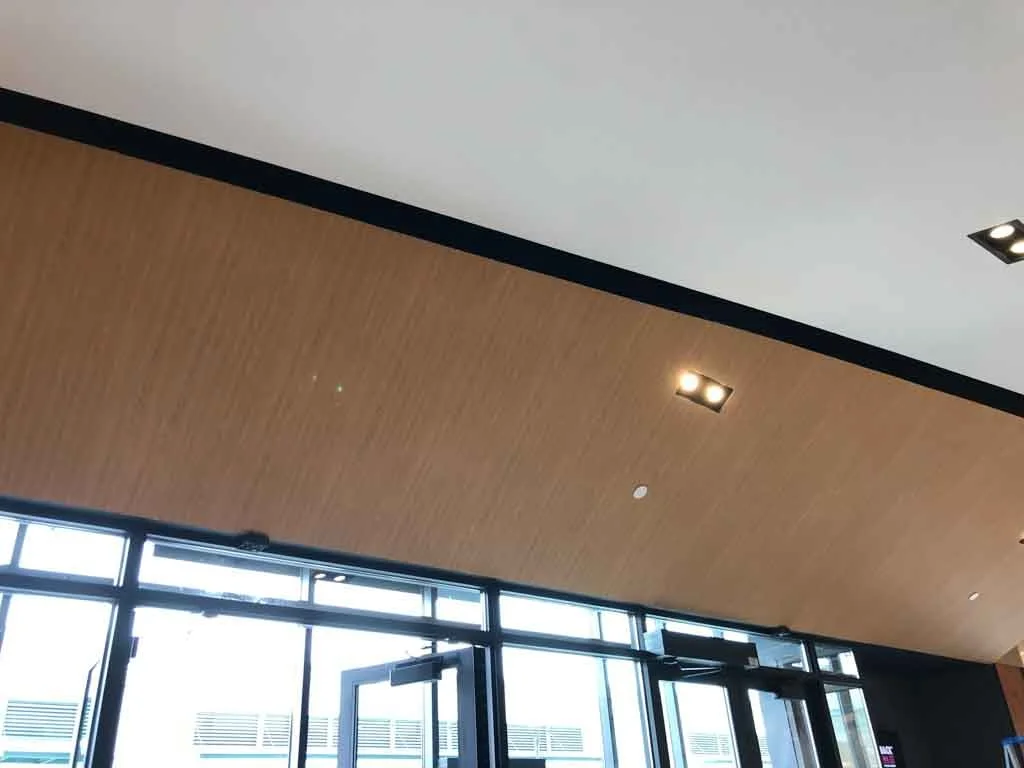
When it comes to interior design, the ceiling is often an overlooked canvas for creativity. A plain, drywall ceiling can appear dull and uninviting, but with the right materials and a bit of DIY spirit, you can give your space a stunning makeover. One way to do this is by using wood grain pattern architectural film vinyl. This versatile material can transform your ceiling into a warm, rustic masterpiece. In this blog, we'll guide you through the process of wrapping a drywall ceiling with wood grain pattern architectural film vinyl to elevate the aesthetics of your space.
Materials You'll Need
Before you embark on this DIY project, gather the following materials:
Wood Grain Pattern Architectural Film Vinyl: Measure your ceiling area to determine how much vinyl you'll need. It's advisable to purchase slightly more than required to account for any mistakes.
Measuring Tape: To accurately measure your ceiling.
Utility Knife and Spare Blades: For cutting the vinyl and achieving clean edges.
Squeegee or Smoothing Tool: To remove air bubbles and ensure a smooth application.
Cleaning Supplies: Mild detergent, water, and a cloth to clean the ceiling before applying the vinyl.
Ladder or Step Stool: Depending on the height of your ceiling, you'll need a secure way to reach the installation area.
Heat Gun or Hair Dryer: To help the vinyl adhere better and conform to the contours of the ceiling.
Painter's Tape: For marking guidelines and ensuring a straight application.
Step-by-Step Guide
Now, let's dive into the process of wrapping your drywall ceiling with wood grain pattern architectural film vinyl:
Step 1: Prepare the Surface
Roll on Zinsser Gardz Problem Surface Sealer, This step ensures that the vinyl adheres properly. Allow the surface to dry completely before proceeding.
Step 2: Measure and Cut
Measure your ceiling's dimensions and cut the vinyl into manageable strips. Leave a few extra inches on all sides to accommodate any irregularities in the ceiling and to ensure you have enough material to trim and fit properly.
Step 3: Apply the First Strip
Use painter's tape to mark a straight line on the ceiling as a guideline for the first strip or use a laser. Peel off a few inches of the vinyl's backing and align it with the marked line. As you slowly peel away the backing, use a squeegee or smoothing tool to press the vinyl onto the ceiling, removing air bubbles as you go.
Step 4: Smooth and Stretch
As you continue to apply the vinyl, use the squeegee to smooth out the surface, working from the center outward. If you encounter any air bubbles or wrinkles, gently lift the vinyl and smooth them out. If the vinyl is too long or overlaps the wall, trim the excess with a utility knife.
Step 5: Heat and Mold
To ensure a snug fit and good adhesion, use a heat gun or a hair dryer to gently warm the vinyl. This will make it more pliable, allowing you to mold it to the contours of the ceiling. Be careful not to overheat or damage the vinyl.
Step 6: Repeat and Overlap
Continue applying strips of vinyl, overlapping them slightly to create a seamless, wood grain pattern. Be mindful of the direction of the grain pattern to maintain a natural look.
Step 7: Trim and Finish
After covering the entire ceiling, use a utility knife to trim any excess vinyl along the edges. Ensure that all seams are neatly aligned and that the vinyl adheres securely.
Wrapping a drywall ceiling with wood grain pattern architectural film vinyl can give your space a fresh, natural, and inviting look. This DIY project allows you to infuse warmth and character into your interior design, and it's a great option for spaces where real wood might not be practical or affordable. With the right materials and a careful, patient approach, you can achieve a beautiful and unique ceiling transformation that will leave your guests in awe. So, go ahead, roll up your sleeves, and give your space a stunning makeover!


Want to Hire RM wraps to install the Architectural film on your subjects. 208—696-1180