

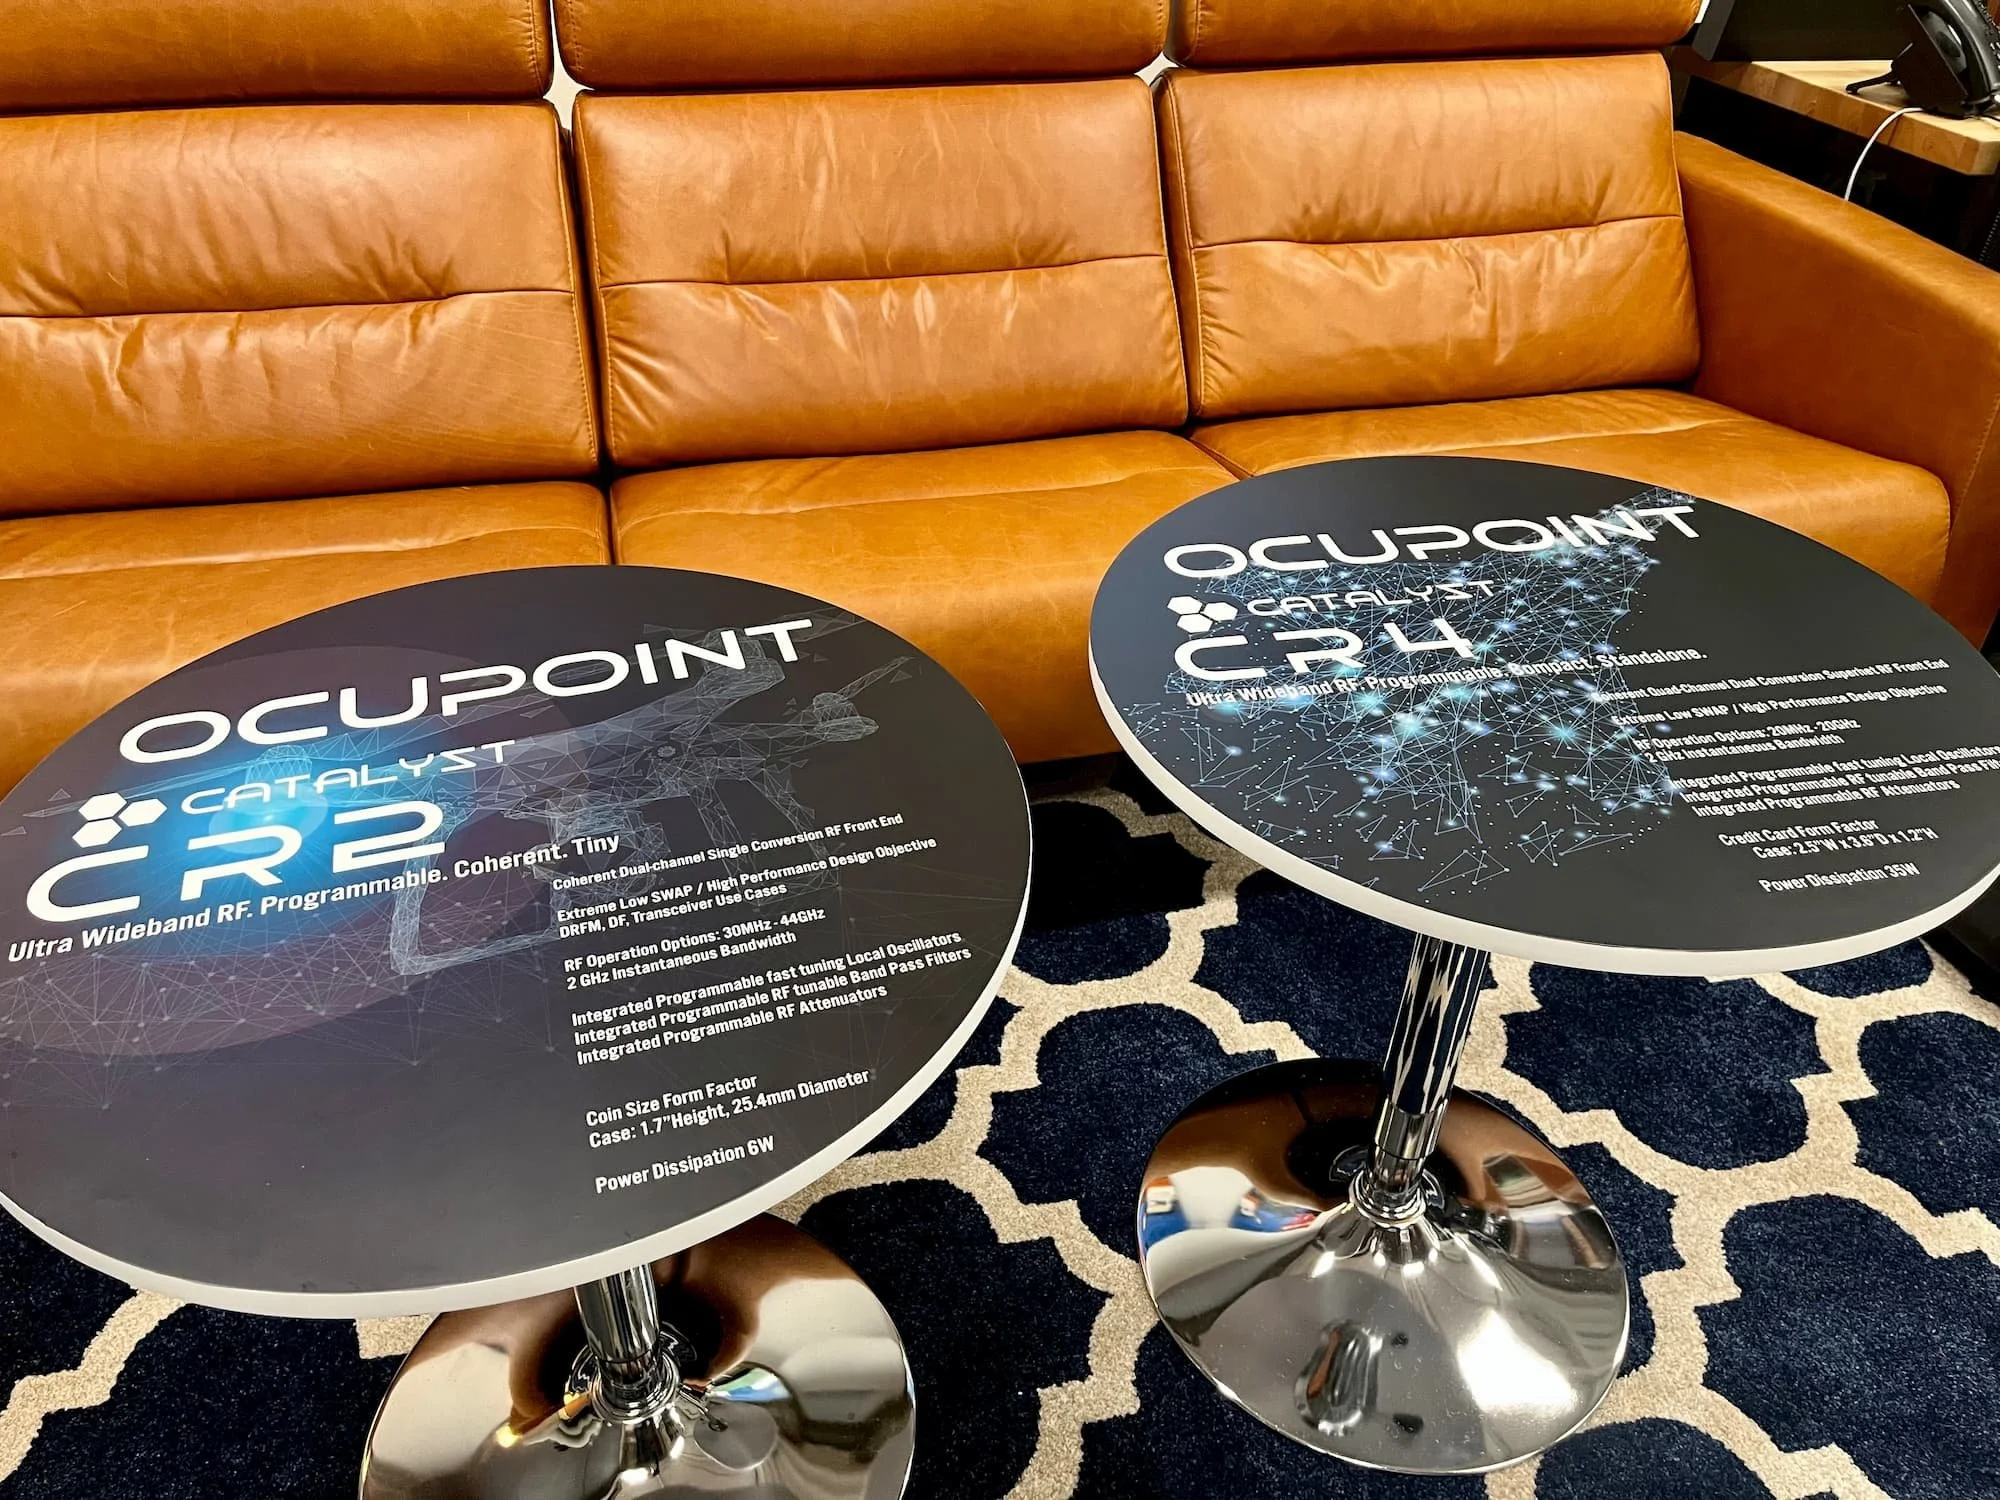
Ocupoint Office Round Table Wraps
“Hi RM wraps,
Table wraps turned out awesome. Your included tool and video made it simple and fast to put on.
Thanks”
Unveiling Creativity: Transforming Your Office with Custom Design Prints on a Circular Table
Introduction: In the quest to create a vibrant and inspiring workspace, every detail matters. From wall art to desk accessories, each element contributes to the overall atmosphere of the office. In this blog post, we'll explore an innovative way to elevate your office design by wrapping a custom design print on a circular table. This unique approach adds a touch of personality and creativity to your workspace, making it a focal point for both productivity and aesthetic pleasure.
Choosing the Right Table: Begin by selecting a circular table that suits the size and layout of your office. Consider the material, size, and functionality of the table to ensure it complements your workspace. A table with a smooth surface is ideal for applying custom prints seamlessly.
Designing Your Custom Print: Let your creativity run wild as you design a custom print that reflects your brand identity or personal style. Consider incorporating your company logo, vibrant colors, or motivational quotes that resonate with your team. Ensure that the design is well-suited to the circular shape of the table, allowing for a visually appealing result.
Materials Needed:
Circular table
Custom print design
High-quality adhesive vinyl
You get a free squeegee and knife
Use Invisible Glass Cleaner to prep the table surface
Preparing the Table: Start by thoroughly cleaning the table surface to remove any dust or debris. This step ensures that the adhesive adheres properly and results in a smooth finish. If the table has any imperfections, consider sanding or smoothing them out before applying the custom print.
Applying the Custom Vinyl Print: Carefully lay out your custom print design on the table, making sure it aligns with the circular shape. Peel off the backing of the adhesive vinyl or contact paper and slowly apply it to the table surface, smoothing out any bubbles or wrinkles as you go. Use a squeegee or flat edge to achieve a seamless and professional look.
Trimming Excess Material: Once the custom print is applied, trim any excess material around the edges of the table. Take your time to ensure clean and precise cuts, creating a polished appearance.
Sealing the Deal: Consider applying a clear, protective sealant over the custom print to enhance its durability and longevity. This extra step safeguards your design against daily wear and tear, ensuring it remains a stunning centerpiece in your office.
Showcasing the Final Result: Now that your circular table boasts a custom design print, showcase it proudly in your office space. Watch as the transformed table becomes a conversation starter, fostering a sense of creativity and innovation among your team.
Wrapping a custom design vinyl print on a circular table is a simple yet effective way to infuse personality into your office space. This DIY project allows you to showcase your brand identity or personal style, turning a functional piece of furniture into a work of art. Embrace the power of creativity and watch as your transformed table becomes a symbol of inspiration and motivation in the heart of your office.