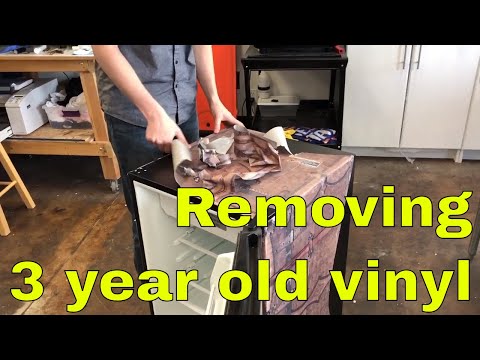

How to wrap a side by side refrigerator using a custom printed Cream Color Rm wraps
How to wrap a side by side refrigerator
Installation Process
Cutting & Aligning the Wrap:
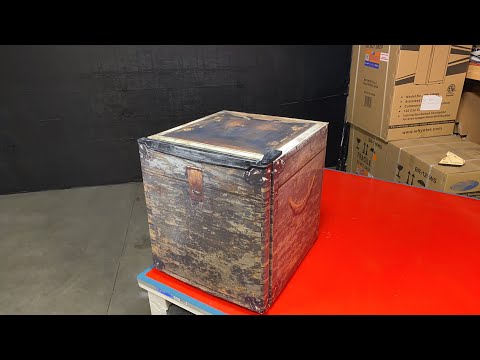
The vinyl wrap is cut to fit the fridge precisely.
Small markers were printed on the wrap to indicate door corners, ensuring correct alignment.
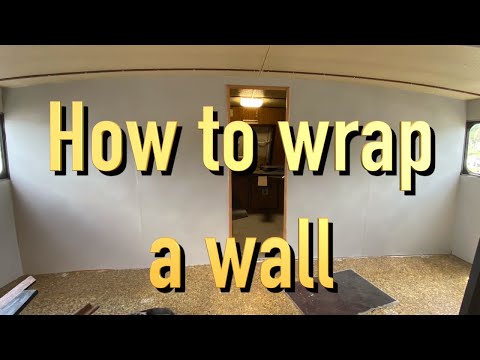
Applying the Wrap:
The vinyl is installed left to right (instead of top to bottom) to accommodate slight curves in the door.
Primer 94 was applied around edges to prevent lifting.
Squeegees and a tacking strip were used for a smooth application.
Dealing with Textured Surfaces & Seals:
Inside sections were tested to see if the wrap would adhere properly.
The seal around the door was carefully navigated, either by tucking in the vinyl or cutting precisely.
Handling Air Bubbles:
If bubbles appeared, they were pressed out manually or popped with a pin.
The vinyl used has air-release technology, making adjustments easier.
Cutting & Finishing Edges:
Excess vinyl was cut near the door seals for a clean look.
A heat gun was used to activate the adhesive, improving durability.
Challenges with Ice Maker Cutouts
Wrapping areas around ice makers can be difficult.
If the ice maker isn’t removable, it’s best to pre-cut the vinyl to match the shape.
The video demonstrates how to cut and stretch the wrap to fit around such complex areas.
Final Results & Longevity
The final wrap blends seamlessly with the kitchen appliances.
Vinyl wraps last for years if properly installed.
The video showcases a successful transformation of the stainless steel fridge into a custom-matched appliance.
See more custom-printed vinyl refrigerator designs here.