

RM wraps Library.
Custom Printed Vinyl Wraps
Every order is custom-made to fix your subject.
Skip to Videos
- All
- Fixing the subject
- Troubleshooting problem videos
- Measurement on appliances
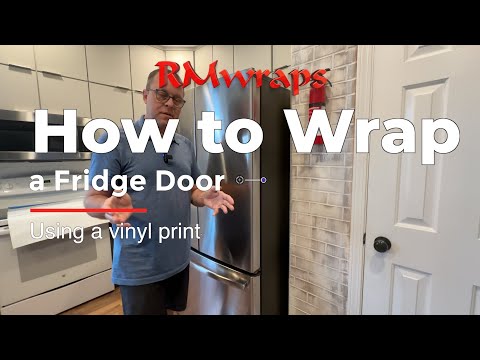
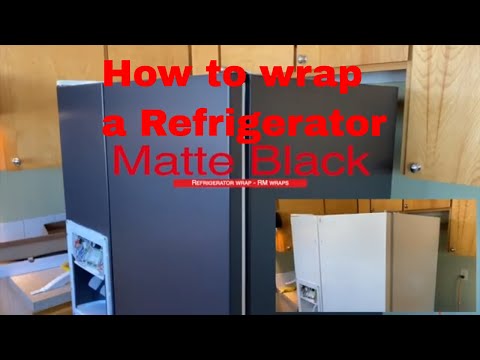
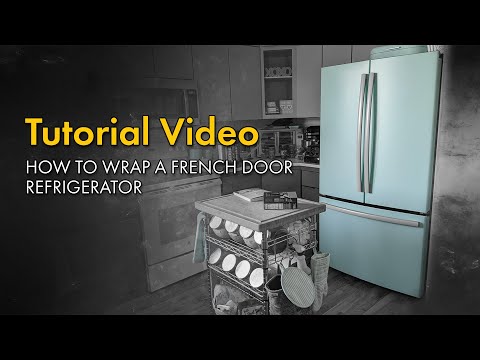
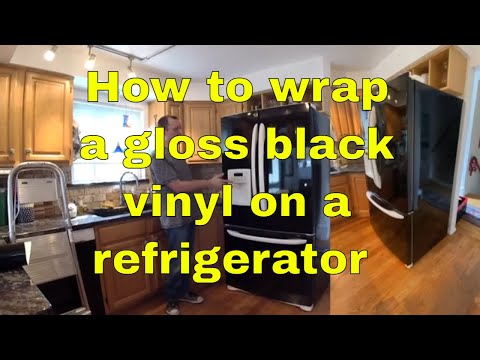
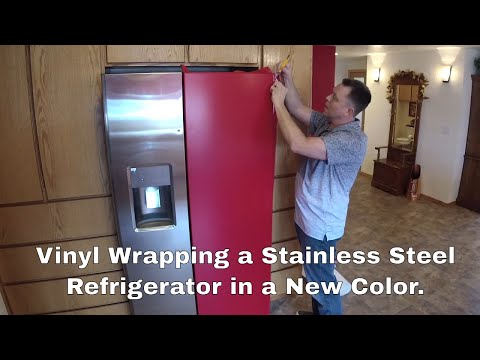
- DIY Fridge wraps
- DIY Mini fridge wraps
- DIY Door wraps
- Elevator wraps
- Commercial Refrigerators
- DIY Dishwasher wraps
- Commercial Mini fridges wraps
- Odd Subjects
- Wall Wraps
- Table Wraps
- DIY Freezers
- Tutorial Videos
- Wrapping Tools
- Graphic Installers